If you’re using an Olympus digital audio recorder and would like to erase all recordings, follow these instructions.
- Power on the recorder by sliding the hold switch to the on position.
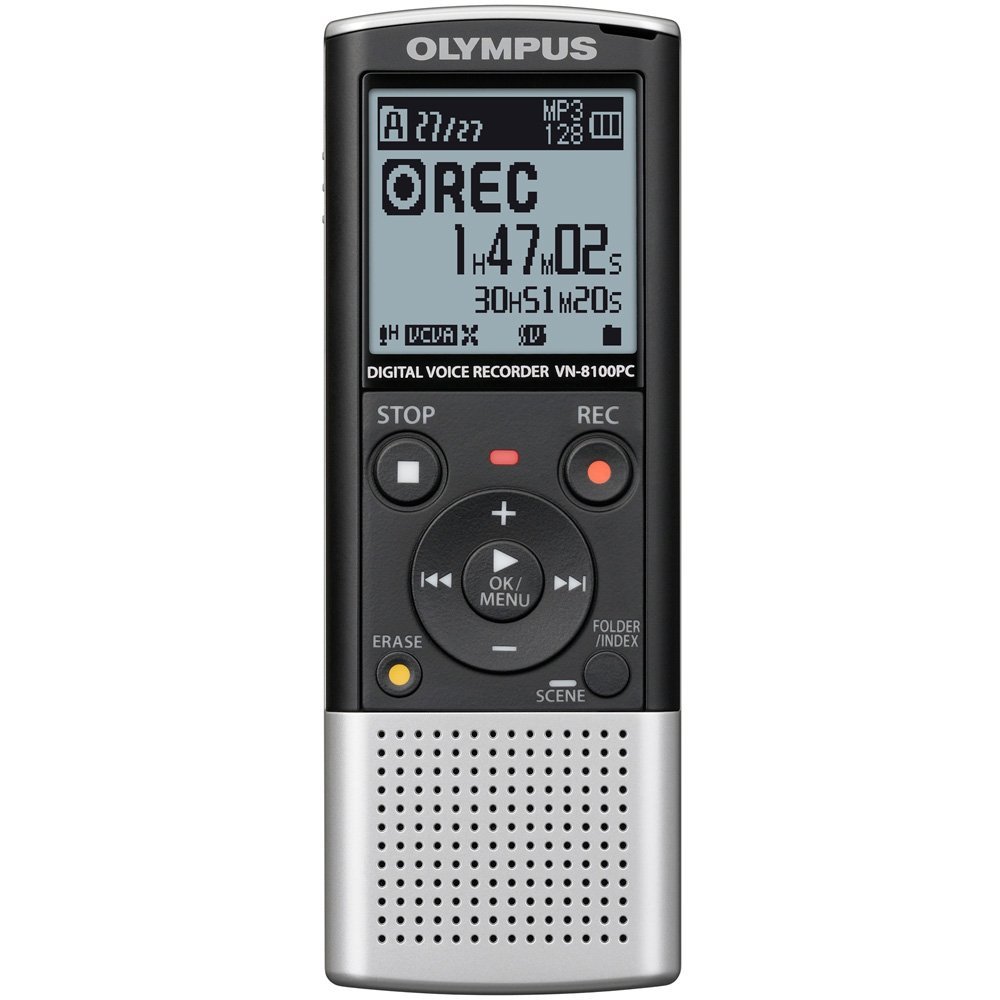
- Press the Folder/Index button until you see the folder icon with the letter A appear in the display.
- If Folder A is empty, you’ll see 00/00 recordings indicated. So, press the Folder/Index button again and advance to any folder with recordings in it.
- Once you arrive at a folder with recordings, you’ll see that listed in the display as recording number / total recordings in folder (such as 01/03 for recording 1 of 3).
- Press the Erase button once. This will indicate you want to erase the current audio recording. You’ll see Erase: Cancel displayed. Press the Erase button again to indicate you’d like to erase all recordings in the folder. You’ll see the word ALL in the display, and Erase: Cancel below it.
- Press the Right arrow. You’ll see Erase: Start below the word ALL.
- Press the Play button. This will begin the process of erasing all recordings in the current folder.
