At Iowa City Data Recovery, one of our service groups, we get a lot of support requests from people who describe their drives as crashed.
Sometimes the failures are mechanical, but often the drive is just not starting up because the operating system or file structure is corrupted.
In these cases, it’s fairly easy for someone to get their files back by following these steps.
Decide Your Approach
If you have a relatively new and fast computer, you may want to be careful during this process so you can reassemble everything later. You’ll need your recovery software to reinstall everything.
This process works best if you just purchase a new drive for the computer. You may want to purchase a new SSD (solid state drive) for your computer. This will help it run faster, and you can save your defective drive just in case there are files on it that you don’t want to accidentally erase.
If the computer is older, you may want to just purchase a new computer, and continue with the steps below.
If you have a second, working computer, then you can continue with the steps below, and once you’re sure you have all the files, and if you think the drive isn’t mechanically damaged, you can consider reusing it after you’ve recovered your files — but reusing it will erase the data on the old drive so be careful, or just get a new drive.
Recovery Process Overview
Once you remove your drive (discussed below) and connect it to a working computer using a dock or adapter (described below), you’ll attempt to read your files from the drive. If the operating system was Windows 7 or later, then you probably have a folder in the Users directory/folder. You’ll want to check all user folders since you may have used other logins.
If the drive isn’t immediately readable, you may be able to use data recovery software to access the files. Or, you might try using a friend’s Apple computer to read the drive — since file corruption that stymies Windows computers might not be a problem for Apple.
Additional supporting information is found below.
Remove the Drive
For most people this is the hardest part, and it’s important to do this properly so as to not damage your computer or drive. Be sure to use the right tools.
- Desktop. In general, with desktop computers, you’ll most likely need a phillips screwdriver, but some systems don’t require tools. Be sure to take pictures of how everything is connected, and label cables. Also, be sure to unplug the computer before beginning. Then, as you’re working, keep a hand or rest your bare arm on the metal case so any static is neutralized.
- Laptop. Some newer laptops have non-removable solid-state drives (SSD technology). You may want to search YouTube for instructions that are for your model computer. Some Dell computers have only one or two screws that are removed, then the drive slides out. Other computers may require that the bottom of the computer be removed. If you’r not careful, you could take things apart and not be able to assemble later.
Get an External USB Drive Adapter
With a USB drive adapter you can connect your drive and hopefully read it on another working computer. If it has a virus you’ll want to make sure that doesn’t spread to the working computer. You could also use a new drive to reassemble your old computer, and then once it’s working, use the USB adapter to get your files back — therefor not needing a second computer. Below is information on the various options for connecting an internal drive by USB.
External Drive Docks and Adapter Kits
There are two general types of systems for connecting an internal drive externally.
Drive Dock
The drive docks these days are usually for SATA drives that just plug into the dock. You’ll probably want one with the faster USB 3 standard. [Details]

Drive Adapter Cable
The drive adapter cables take up a little less room. Some are dedicated to SATA drive connections like the one shown below. [Details]

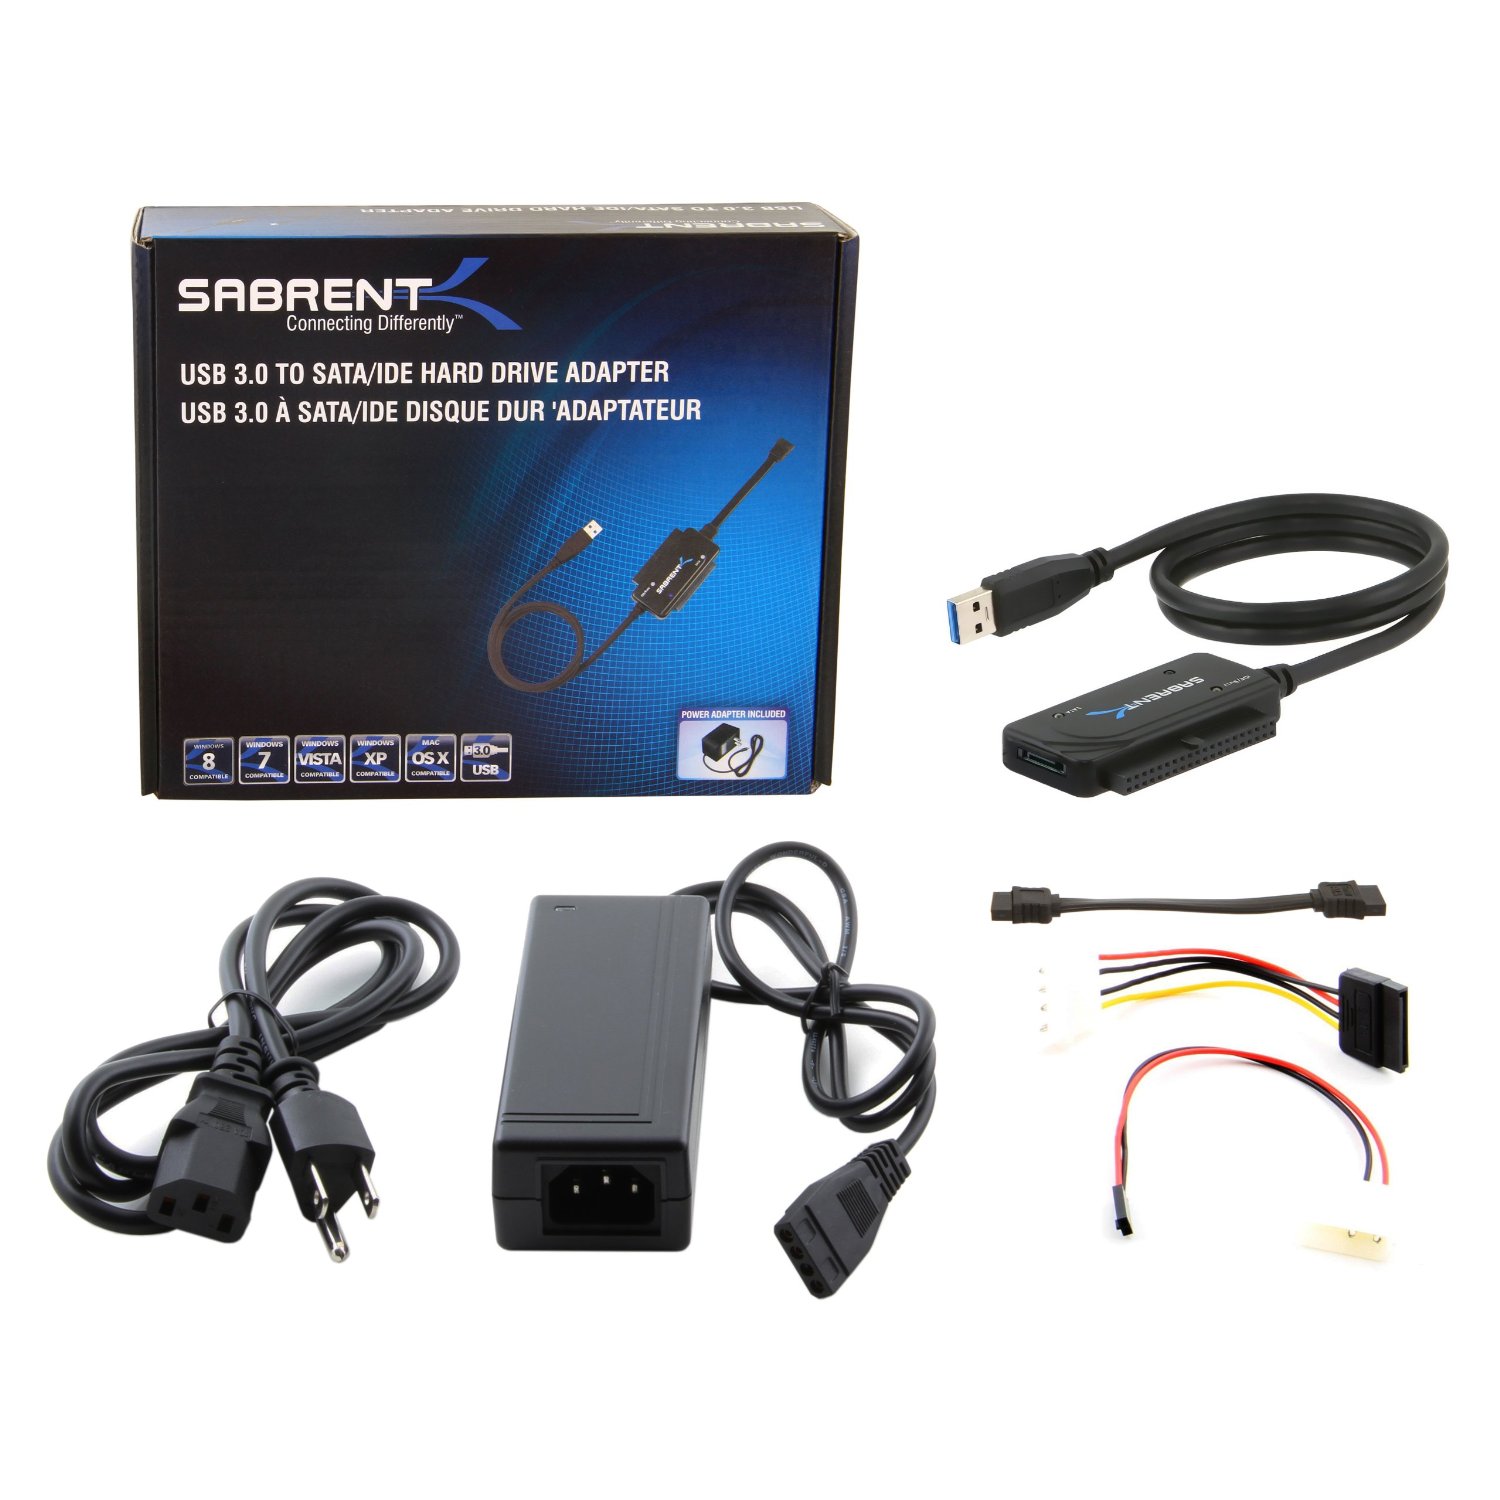
Other adapter kits can accommodate older style drive connectors such as the kit shown below. [Details] This kit can handle 2.5″ and 3.5″ IDE as well as ESATA drives. [Buy]

